
Use the following page when setting up your Fine Art files for submission.
Raster-based artwork (photography, painting, etc.)
If you are preparing raster-based artwork, you will only need to set up one .jpeg file.
Your final file must:
- Be exported as a full-bleed .jpeg
Please do not add margins to your art; our system will automatically add these to your full-bleed artwork for applicable formats. -
Be saved in RGB color mode (if set to CMYK, colors will become oversaturated/neon)
The color profile we work in is sRGB IEC61966. Please save in this format.- Photoshop: You can view the current color profile by going to Edit > Color Settings, and change the current profile by going to Edit > Assign Profile.
-
Illustrator: Ensure your Document Color Mode is set to RGB (File > Document Color Mode > RGB)
- Ensure all elements in the file are using RGB color builds (Select All > Edit > Edit Colors > Convert to RGB).
-
Make sure there are no significant color changes when you do this. If there are, adjust colors accordingly to match the original submission.
- Be at least 300 ppi at largest print size (48’’x70’’ size for portrait/landscape, & 44’’x44’’ for square)
We strongly encourage you to test print a portion of your piece at 100% to catch any file issues before submitting. For scanned art, make sure you scan your image at a higher resolution. For example, if you’re scanning an 8.5’’x11’’ piece, you will want to set the resolution in your scan settings to 600-1200 ppi. This will ensure your image is large enough without losing quality.
* How to check file resolution: In Photoshop, use the Image Size option (Image > Image Size) to see the effective resolution of the overall file. If adjusting the size of your piece in Photoshop, make sure the “Resample Image” checkbox is off.
* We recommend saving your image as a standard .jpeg file (not as an optimized .jpeg) at the highest possible image quality. Since we don't have a file size limit for uploading images, there's no need to use optimized .jpeg files for your final files.
| NOTE: Please make sure your final .jpeg does not include your artist signature. This will be signed (using a signature machine) in pencil on limited edition prints if customers opt in, so please make sure this is not included in your final file. More info on how to set this up can be found in our Creating your Artist Signature FAQ article. |
Please note that by submitting a single JPG file, our system will automatically resize the artwork and crop it accordingly to fit the different ratios.
- You do have the option of selecting the area you’d like our system to crop the artwork to (top, bottom, left or right), but depending on the dimensions of your piece this may result in uneven margins.
If you want complete control of the cropping of your artwork’s 10 sizes, please consider submitting Adobe Illustrator files instead. For more information on Illustrator file creation, please check out information on submitting AI files below.
Vector-based artwork (graphic art created in Adobe Illustrator)
If you are preparing vector-based artwork or want to control your JPG’s cropping, you will need to set up a file for each art print dimension.
Your final files must:
- Have artwork cropped to the edge of the artboard
Place your artwork under the “Place artwork below this layer” layer to crop your artwork to the edge of the artboard. Our system will automatically add white margins in for necessary formats.
*Please note that previously, margins were included in Illustrator templates. Ensure you are using our most updated templates that no longer include this margin. -
Be saved in CMYK color mode (if set to RGB, colors will become oversaturated/neon)
- For Custom Art (artwork that the customer can edit - for example, artwork that includes an editable text box or photo), it is preferred to use CMYK Web Uncoated
- For Non-Custom Art, it is preferred to use CMYK U.S. Web Coated (SWOP) v2
- Please do NOT use any profile outside of these two for Illustrator files.
- For Custom Art (artwork that the customer can edit - for example, artwork that includes an editable text box or photo), it is preferred to use CMYK Web Uncoated
-
Have any fonts (if included) outlined in your files
- You can do this by selecting the type and going to Type > Create Outlines.
- When submitting Personalizable Art (Custom Art), please include your font information as requested in the Minted Illustrator Templates.
- Please refer to our Minted Font List for a complete approved list of fonts.
Using the Illustrator Templates (updated!)
When placing your artwork in the Illustrator templates, ensure artwork is placed within the clipping mask to crop your artwork to the edge of the artboard. Any artwork extended outside the edge of the artboard will be cropped out for that particular size. For formats that include a white margin, our system will automatically add these before launch.
Piece in Illustrator templates vs. full-bleed piece vs. white border piece
Trapezoids by Eliot Stokes
| Reminder! Make sure you embed any raster artwork if included. In the Links panel, select the artwork and then select “Embed Image” from the upper dropdown menu. |
If your piece is a placed graphic and does not bleed off the edges of your print, you may want to include additional white space around your artwork in your final file to allow breathing room between the artwork and frame.
African Drum by Oma N. Ramkhelawan
Creating Colorways
You are welcome to create and submit up to 5 alternate colorways for your piece, for a total of 6 colorways. While alternate colorways are not required, they give customers additional options for your piece. We strongly encourage creating alternate colorways if they work with your piece. More info can be found on our Colorway FAQ page.
Paper Stack by Carrie Moradi
Different Art Print Sizes = Different Cropping
For fine art, we offer up to 10 available sizes for portrait/landscape pieces and 6 sizes for square pieces. Please note that if your piece is raster-based and is not high enough resolution, it may not be available in our larger sizes. Our Art team will review your file and determine whether your artwork scales to our highest size (48x70 for portrait/landscape, 44x44 for square).
If the artwork does not scale to our largest size, the Art team will put the artwork through a scaling tool and review once more. If it scales after going through the tool, we will continue with the newly scaled file and notify the artist. If the artwork does not scale after going through the tool, the artwork may be disqualified as a winner.
| Portrait (ratio) | Landscape (ratio) | Square (1:1) |
| 5''x7'' (5:7) | 7''x5'' (7:5) | 8''x8'' |
| 8''x10'' (4:5) | 10''x8'' (5:4) | 11''x11'' |
| 11''x14'' (11:14) | 14''x11'' (14:11) | 16''x16'' |
| 16''x20'' (4:5) | 20''x16'' (5:4) | 24''x24'' |
| 18''x24'' (3:4) | 24''x18'' (4:3) | 30''x30'' |
| 24''x30'' (4:5) | 30''x24'' (5:4) | 44''x44'' |
| 30''x40'' (3:4) | 40''x30'' (4:3) | |
| 40''x54'' (20:27) | 54''x40'' (27:20) | |
| 44''x60'' (11:15) | 60''x44'' (15:11) | |
| 48''x70'' (24:35) | 70''x48'' (35:24) |
- For Full-Bleed format, this means that pieces will be cropped slightly differently across available sizes. If you submit a single .jpeg, you can select the area you’d like to crop this to (top, bottom, left or right), but depending on the dimensions of your piece this may result in uneven margins.
Desert Prism by SylvieCeres Designs - For White Border formats, this means that pieces may not have even margins around all edges of the piece (if a single .jpeg was uploaded during the submission process).
Sun Bleached Palm Trees by Baumbirdy
If you’d like the margins to remain even across all edges of your piece, you can prepare your raster artwork in the Illustrator templates and place your .jpeg image to fill the area within the inner guides.
Different Formats = Different Cropping
For fine art, we offer 5 unique formats: Full-bleed, White Border, Matted, Float Mounted, and Canvas. Full-bleed and White Border are available to purchase either framed or unframed. Please note that your piece may be cropped/displayed differently across these formats.
New Framed Canvas format coming soon!
Last Tuesday by Jennifer Daily
Canvas: Gallery Wrap vs. Museum Wrap
For our canvas format, we have two different types of wrap: Gallery Wrap and Museum Wrap. You can denote this when filling out the merchandising data for your project.
-
Gallery Wrap has the artwork reflected and wrapped around the edges of the canvas. We typically prefer paintings to be set in this type of wrap.
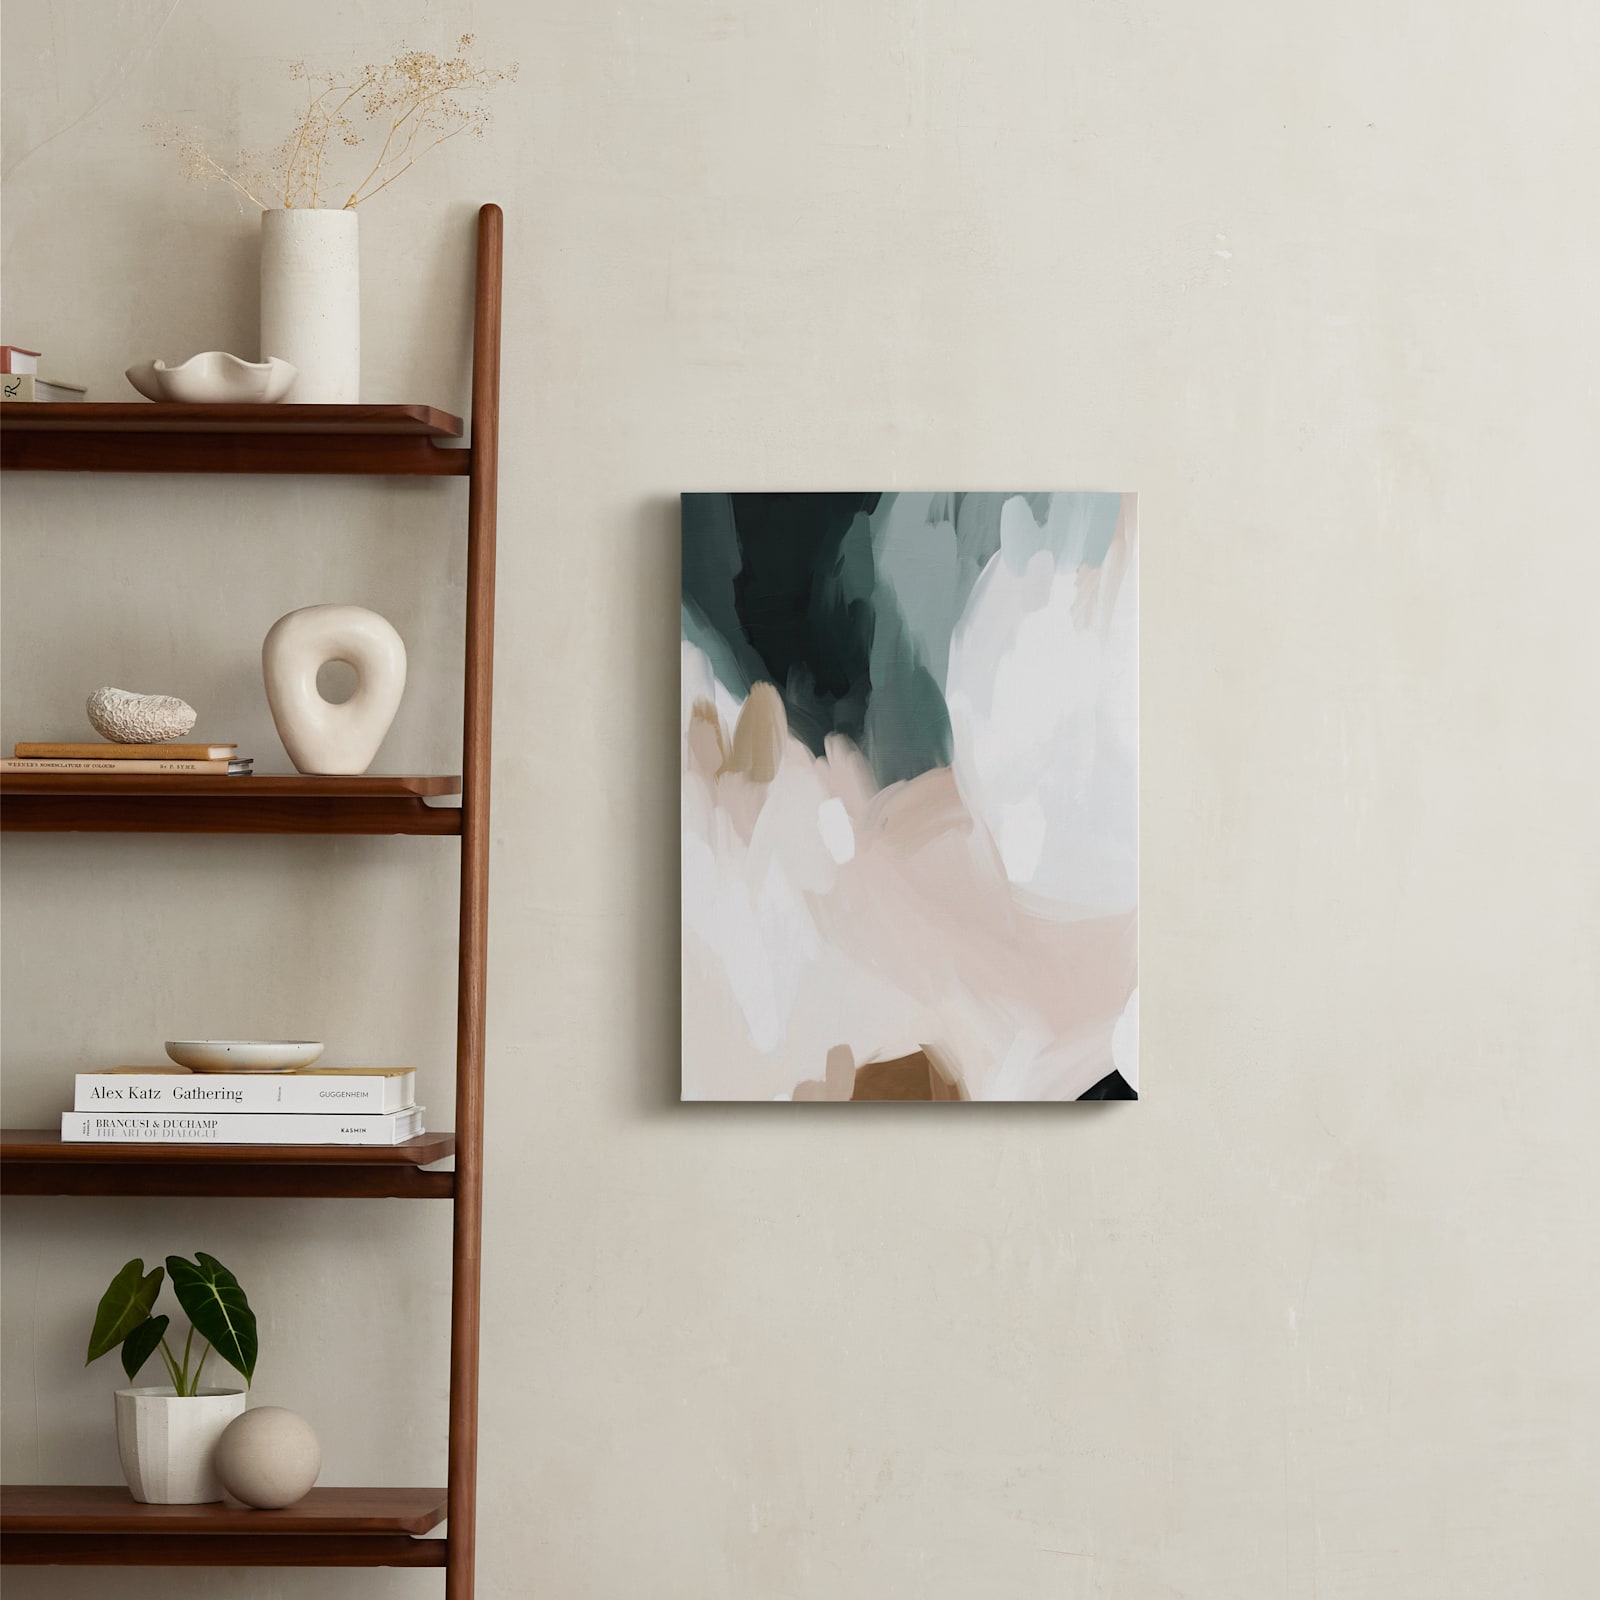
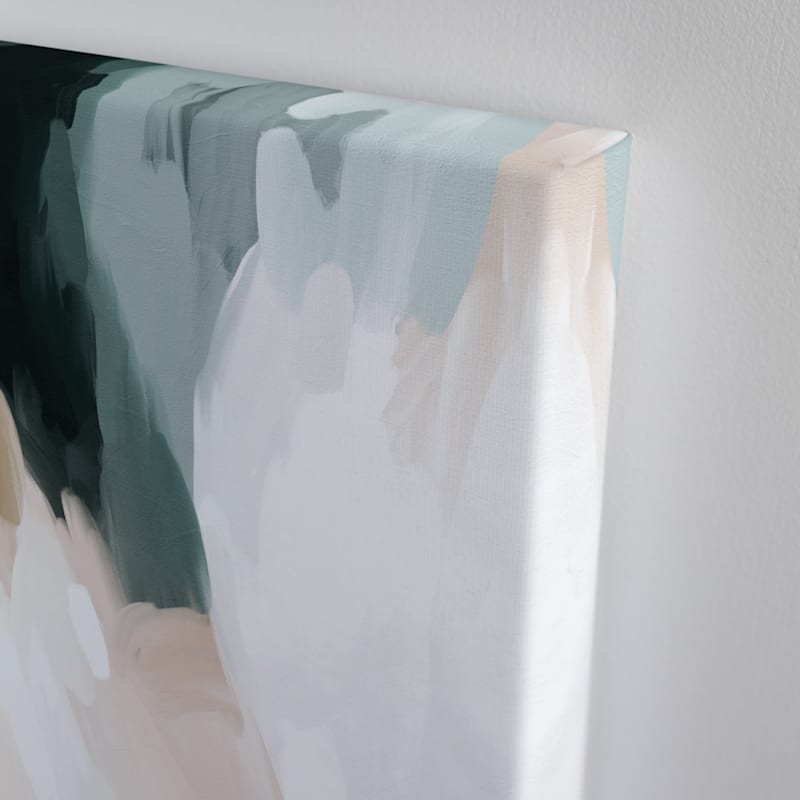
Moody Beauty I by Melanie Severin
-
Museum Wrap has the artwork only on the front-facing portion of the canvas, with no image on the sides. We typically prefer photography pieces set as this type of wrap.
New Orleans French Quarter Pink Facade by Kathy Van Torne
Please note that our team may change the type of wrap you select if they feel the other option better suits your piece.
Comments
0 comments
Article is closed for comments.